

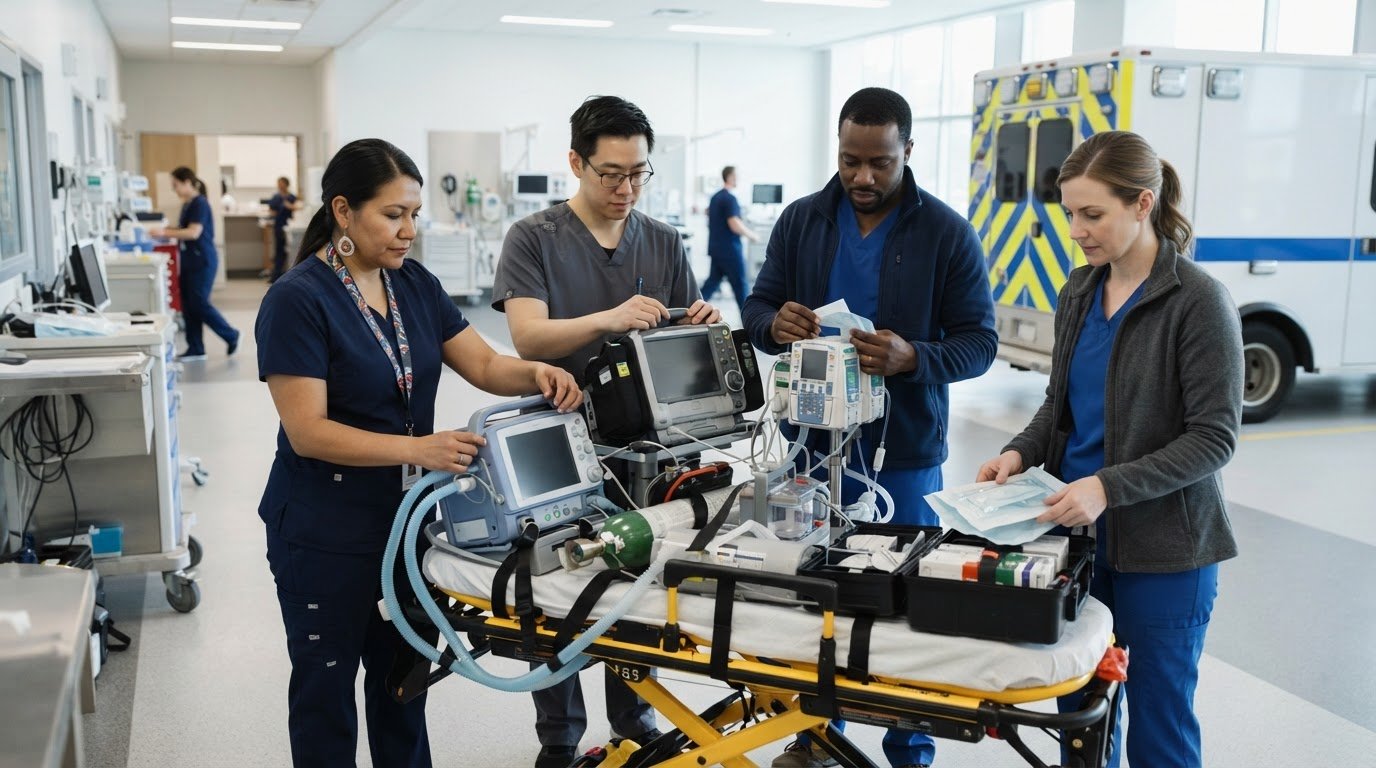
A packed monitor doesn’t guarantee a transport-ready setup. A critical care transport equipment checklist helps teams verify that essential devices and supplies are available, functional and suited to the patient’s needs before departure. Even familiar equipment can be unavailable, uncharged or configured differently than expected, adding pressure to an already time-sensitive transfer.
Transport clinicians know preparation involves more than counting equipment. The checklist must reflect the patient’s condition, the transport setting and the team’s approved procedures. This guide offers a practical framework to organize equipment readiness, identify patient-specific requirements and support clear handover before and after transport. It covers core equipment categories, power and supply checks, role coordination, and the final status review on arrival. Adapt each step to your facility’s protocols and the applicable transport service guidance, and verify device-specific instructions for use. The result is a consistent preparation process that helps teams identify gaps early and maintain continuity across the transfer.
Key Takeaways
- Set the scope of your critical care transport equipment checklist by clarifying the transfer type, team roles and facility-approved protocol.
- Match airway, ventilation, oxygen, monitoring, access and therapy equipment to the patient’s needs, then check power, connections, accessories and consumables.
- Follow an ordered readiness process: identify, inspect, power, connect, test, secure and document each item, with checks assigned according to local policy.
- At handover, communicate patient status and ongoing support, then reconcile equipment and accessories against the departure record.
Critical care transport equipment checklist: define scope before departure
Before assembling equipment, define the transfer the checklist is meant to support. Moving a patient between departments in one facility may involve different routes, resources and handover arrangements than an interfacility transfer. Identify the responsible sending and transport team members, clarify who completes and verifies each part, and follow the facility’s approved transport protocol. Start planning from the patient’s current support needs, the planned route and the conditions expected during transit.
A transport checklist is an aid for organizing readiness and communication, not a clinical decision tool or a substitute for professional judgement and approved clinical processes.
How should teams adapt a transport checklist to the patient?
Review the patient’s current airway, ventilation, circulation, monitoring and infusion needs through the appropriate clinical process. Record patient-specific requirements in the approved documentation, including any support or equipment that must continue during movement. Keep these items distinct from universal readiness checks, such as confirming that assigned equipment is present and has been inspected. This separation makes it easier to identify what applies to every transfer and what depends on the individual patient.
Why does transport type change equipment preparation?
Intra-hospital movement and interfacility transfer should not be treated as having identical resources. The route, anticipated duration, access to backup equipment or support, and arrangements with the receiving team can all shape preparation. For an interfacility transfer, clarify how the receiving team will take over ongoing support and what information must accompany the patient. For movement within a facility, consider the route and how the team will maintain required support between care areas.
- Define the transfer type, route and anticipated conditions.
- Identify who is responsible for each check under local policy.
- Document patient-dependent requirements through approved clinical processes.
- Set equipment selection and quantities according to facility protocol and applicable device instructions, not a generic checklist.
This scope-setting step makes the critical care transport equipment checklist adaptable without treating a general template as a substitute for local procedures or device-specific instructions.
Critical care transport equipment checklist for life support and monitoring
Organize equipment checks by clinical function so the team can identify what supports the patient and what must be ready for the transfer. Select items according to the patient’s plan, local protocol and applicable device instructions. A checklist supports preparation; it doesn’t replace ongoing patient assessment, clinical judgement or staff competency.
Verify ventilation and oxygen equipment
For prescribed respiratory support, compare the intended setup with the patient’s plan and the manufacturer’s instructions. Check the device’s condition, power source, oxygen supply, breathing circuit, connections and required accessories. Confirm backup arrangements under local protocol, including how the team will respond if the planned supply or equipment becomes unavailable. A ventilator’s product category alone doesn’t establish that it is suitable for transport. Check transport use, operating limits and accessories against device-specific documentation.
Include monitoring and other support
Choose monitoring equipment and compatible accessories to match the patient’s needs and the care team’s plan. Pulse oximetry and capnography may be required under local protocol or clinical direction, but shouldn’t be treated as universal checklist items. Where applicable, account for infusion devices, prescribed medication supplies and vascular-access needs. Confirm that connections and consumables match the selected equipment and planned support.
- Airway and ventilation: prescribed equipment, circuits, connections and required accessories.
- Oxygen: planned supply, compatible connections and protocol-directed backup arrangements.
- Monitoring: patient-appropriate monitor, sensors and any specified accessories.
- Access and therapies: applicable infusion equipment, supplies and access-related items.
- Team readiness: communication equipment, personal protective equipment and emergency resources required by local protocol.
Use the WHO Interfacility Acute Transfer Checklist as a reference for transfer-related checks, alongside your facility’s approved process. For product-focused respiratory planning, Novus Medical’s respiratory equipment information can provide additional context. Confirm device readiness and staff familiarity before departure, then continue assessment throughout the transfer.

How to verify and pack critical care transport equipment
A repeatable sequence gives the team a clear way to inspect, connect and account for equipment before departure. Assign each check to a named role under local policy, such as the transport lead, respiratory clinician or designated equipment checker. One person may hold more than one role, but responsibility for completion and escalation should be clear.
Identify each item, inspect its condition, confirm power, connect and test as directed, secure it for movement, then document its status.
- Identify: Match equipment and accessories to the approved checklist and the patient’s documented requirements.
- Inspect: Check condition and completeness according to the manufacturer’s instructions for use.
- Power: Verify the intended power source and status using the device’s instructions and local procedure.
- Connect and test: Confirm required connections and perform permitted checks as directed by the manufacturer and facility protocol.
- Secure: Pack items in a consistent layout, keeping equipment accessible and protected during movement in accordance with local procedures.
- Document: Record readiness, accessories, consumables and any unresolved issue in the facility’s established documentation.
What should a pre-departure equipment check document?
Record equipment identification, readiness status, power status and essential accessories. Document who completed the check and how any issue was escalated, following facility procedures. If an item is unavailable or fails an inspection, record the issue and follow local policy before departure. Use manufacturer instructions for device-specific inspection and testing; don’t substitute a generic checklist for them.
How can teams reduce omissions during packing?
Group equipment by clinical function and keep a consistent storage layout so team members can locate and reconcile items. A second team member can cross-check the packed kit against the approved checklist. Clearly distinguish contingency items from patient-specific routine equipment, and record both where facility documentation requires it.
For respiratory device planning that supports equipment-readiness discussions, explore Novus Medical’s respiratory equipment resources.
After critical care transport: handover, reconciliation, and equipment readiness
Arrival marks a transition, not the end of equipment accountability. Complete the clinical handover through the facility’s approved process, then reconcile transported equipment and accessories against the departure record. This closes the loop between the patient-specific plan, the equipment used in transit and the kit that must be made ready for its next use.
What belongs in an equipment-focused transport handover?
Communicate patient status and ongoing support alongside the equipment delivering that support. Identify devices in use and share relevant settings as required by protocol. Describe equipment changes during transit, unresolved alarms or concerns, and the status of supplies. Clarify which responsibilities pass to the receiving team, and document the handover using established procedures.
- Match returned devices and accessories to the departure record.
- Note missing, damaged or depleted items, and any observed equipment issue.
- Record the reconciliation and route concerns through facility maintenance or service procedures.
- Follow local processes for equipment inspection, cleaning and return to readiness.
Don’t assume a device is ready for reuse simply because it has returned with the patient. Document its status and follow facility procedures for any required checks, replenishment or service action. The critical care transport equipment checklist can support this reconciliation when it captures equipment and accessories at departure.
How can facilities support device readiness over time?
Keep manufacturer instructions, inspection processes and staff training records current. Device-specific transport use, limits and accessories should be guided by applicable manufacturer documentation and approved use. For product-selection context, consult the critical care ventilator guide; broader planning can draw on respiratory therapy equipment procurement guidance. Staff familiarity and access to technical support also belong in readiness planning.
For respiratory equipment information and Canadian-based technical support, connect with Novus Medical.
Strengthen readiness between transfers
Make equipment readiness part of routine team practice, not a task reserved for departure. Review the checklist when equipment, workflows or facility procedures change, and use post-transfer reconciliation to identify recurring gaps. Keep the process aligned with approved protocols and manufacturer instructions, while reinforcing staff familiarity with the devices they may need to prepare and operate. These ongoing steps help teams keep preparation relevant to real transport needs.
A critical care transport equipment checklist is most useful when it supports consistent practice while leaving clinical decisions to the care team. For Canadian healthcare facilities planning respiratory equipment needs, Novus Medical brings more than 40 years of experience selling and supporting medical devices, with warranty and service contract support.
Discuss respiratory equipment planning and available Canadian-based technical support by phone, internet and remote connection. Connect with Novus Medical about respiratory equipment and take a considered next step towards supporting your team’s readiness.
Frequently Asked Questions
Is there one standard critical care transport equipment checklist?
No. Use a locally approved version as a controlled document, with an assigned owner, revision date and process for replacing obsolete copies. When equipment inventory or facility procedures change, route revisions through the established approval pathway before staff adopt them. This helps prevent teams from working from different versions without treating one template as suitable for every setting.
What equipment should be checked before critical care transport?
Identify the exact device and its matching accessories through facility inventory or device documentation, rather than relying on generic labels such as “monitor” or “ventilator.” For example, identify the required sensor or circuit for the device configuration, and check that consumables are intact and within their stated use period. The responsible clinician determines which support applies to the patient.
Can an intra-hospital checklist be used for interfacility transfer?
Not automatically. Compare the form’s fields with the interfacility workflow, then identify information or sign-offs required by the sending and receiving organizations that the internal form doesn’t capture. Test the revised document with the teams who will use it, and obtain local approval before adopting it operationally. This makes the familiar format more suitable for its intended use.
How often should critical care transport equipment be checked?
Follow the inspection interval set by facility policy and manufacturer documentation; don’t assume one device follows another’s schedule. Make current inspection or service status visible during equipment assignment, and define what staff should do if that status is missing, overdue or unclear. A traceable maintenance record can help the designated equipment lead identify recurring issues and route them through facility processes.
Does an equipment checklist replace clinical assessment before transport?
No. Record clinical assessment and any transport authorization in the appropriate clinical documentation, rather than treating completed equipment fields as evidence of patient readiness. If the patient’s condition changes after the initial assessment, follow the facility’s reassessment and escalation process before proceeding. Keeping clinical decisions distinct from equipment records makes each record’s purpose clear to the care team.
Disclaimer
Disclaimer: Articles on this website are produced with the assistance of automated content tools (AutoSEO) and are intended solely for general informational purposes. This content does not constitute professional advice. While we strive to maintain accurate and up-to-date information, readers should verify key details independently before taking action based on any content found on this site.


Leave a Reply
Your email is safe with us.